
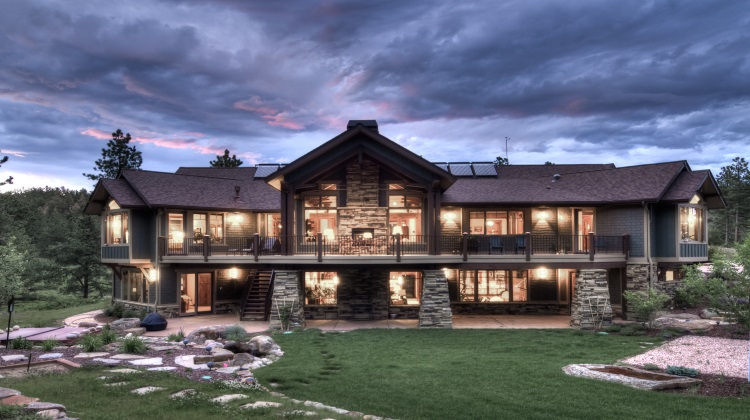
Landscape lighting voltage drop: avoiding dim lights
Landscape lighting can make a driveway, front path, or backyard feel safer and more inviting after dusk. When some fixtures glow strongly while others look weak or amber, the cause is often not the LEDs themselves. It is usually voltage drop: too little electrical pressure reaches the end of the cable run.
The effect becomes more likely when lights sit far from the power supply, share thin cable, or carry a heavy combined load. Warm summer evenings also reveal it, because resistance rises as cables and connectors heat up. Fixing the cause is usually more effective than replacing a dim lamp with a brighter one.
For Australian homes, low-voltage garden systems commonly use 12V or 24V, while some paths and wall fittings run from the 230V mains. Each arrangement has different installation and safety considerations, but the principle stays the same: plan the route, calculate the load, and check the voltage at the last light while the whole system is operating.
Why distant lights look dim
Voltage drop occurs because current loses a small amount of voltage as it travels through resistance in cables, terminals, and connections. A lamp close to the transformer receives close to the rated voltage. A lamp at the end of a long, undersized run receives less, and many LED drivers respond by dimming rather than displaying an obvious warning.
The useful test compares the voltage at the end of the run with the transformer output under load. On a 12V circuit, a fall of 0.5V can be significant; on 24V, the same number represents a smaller proportion of the supply. AS/NZS 3000 sets a 5% limit for voltage drop in consumer electrical installations, while many low-voltage designers aim for no more than 3% on a lighting branch, leaving margin for heat, ageing, and component tolerances.
For a simple two-conductor copper calculation, use: voltage drop = 2 × one-way distance × current × cable resistance per metre. Use the cable maker’s resistance figure rather than a generic chart. The factor of two accounts for the journey out and back through the supply and return conductors.
Plan the circuit before buying fixtures
Begin with a scaled sketch of the yard. Mark every fixture, the intended transformer position, and each cable route before calculating cable lengths. Keep high-output features, such as a tree uplit or entry pier, on separate branches from small path lights. This makes diagnosis easier and prevents one shared run from carrying the entire garden’s load.
A methodical plan also prevents expensive changes after trenches are open. The same step-by-step attitude behind our practical approach is useful when comparing layouts and documenting distances. Think about the routes families actually use after dark, including the front door, letterbox, bin, barbecue area, and garage, rather than lighting isolated spots for appearance.
Choose the system type before ordering fixtures. Compact inner-Sydney terraces may suit a few 230V GU10 fittings near existing circuits, while larger blocks in Brisbane or Perth often benefit from 24V modules and longer low-voltage branches. Australian lighting shops commonly offer 12V MR16 kits, 24V systems, mains GU10 fixtures, solar lights, and Wi-Fi modules, but their voltage and driver requirements are not interchangeable.
Match the power supply to the load
Add up the nameplate wattage of every LED, then convert it to current: amps = watts ÷ volts. Include any controller or driver allowance. Select a transformer or power supply for the correct system voltage and total load, with operating headroom specified by the manufacturer. Running a supply continuously at its absolute maximum can cause excess heat, nuisance shutdown, or early failure.
Position the supply where it serves several short branches rather than at one far corner. If the layout still leaves a weak tail, run two or three home runs from the transformer instead of continuing one long daisy chain. Mount the enclosure in a dry, ventilated, accessible position, while keeping it away from irrigation spray and exposed garden hose areas.
For the same light wattage, a 24V circuit draws half the current of a 12V circuit, so voltage drop is lower for the same copper size. That advantage makes 24V useful for long runs, but all fixtures and the supply must match. Check whether products are constant-voltage or constant-current, and do not mix incompatible drivers or add smart dimmers that are unstable at low input voltages.
Use cable that suits the distance
Cable cross-section directly affects resistance. For a two-wire copper circuit, voltage drop can be estimated with: 2 × one-way distance × current × resistance per metre. Using typical copper resistance figures, a 20m feeder carrying 2A at 12V loses roughly 0.88V on 1.5mm² cable, 0.57V on 2.5mm², and 0.41V on 4mm². Connections add further loss.
Use cable specified for permanent outdoor lighting, not indoor flexible cord, telephone wire, or a garden extension lead. Select outdoor cable with suitable UV, moisture and temperature ratings, including direct-burial approval where it will be buried. Use compatible sealed connectors and glands. Tighten terminals properly and keep joins accessible for inspection. At a garden bed, a hidden junction is likely to work harder than a fixture that can be serviced.
Distribute the load in parallel wherever practical. Each light should connect across the supply and return, rather than feeding the next fixture in series. Parallel home runs reduce current in each cable section, but they do not remove the need to size the furthest branch for its own load. Confirm the result with a multimeter at the farthest fixture while the lights are on.
Design for Australian weather and safety
Australian outdoor conditions quickly expose weak fittings. UV and summer heat can degrade cable insulation and seals, while coastal salt around Sydney, the Gold Coast and Adelaide encourages corrosion in cheap terminals. Choose an IP rating suited to the location: IP44 may suit sheltered splash zones, while exposed spots and floodlights need an appropriately higher rating and outdoor-rated glands. Keep joints above drainage lines and away from sprinklers.
Mains-connected lights and buried mains cable should be handled by a licensed electrician familiar with AS/NZS 3000 and local requirements. They can assess RCD protection, earthing, conductor sizing, and safe isolation. Low-voltage equipment still needs compliant outdoor products, correct connectors, and safe installation practices. Never use a temporary extension lead as permanent garden wiring, or join low-voltage and mains sections without an appropriately rated and installed connection.
Test before the first evening and again after the system has run for a while. Measure transformer output and the voltage at the final light under full load, not with the circuit off. If the source holds its rated output but the far end is low, inspect cable length, conductor size and contacts. If the source also falls, review total load, supply capacity, and incompatible dimming modules.
Keep every path evenly lit
A reliable lighting plan has three parts: measure the longest run, calculate current and voltage drop, then test under operating conditions. Use the results to choose 24V for extended branches, thicker copper cable for demanding 12V routes, or several short parallel runs from a suitably rated supply. Replacing a single dim LED rarely corrects undersized wiring.
When lighting and planting share the same yard, cut flower gardens can inspire paths that move between beds and usable outdoor spaces. Keep fixtures aimed away from foliage and check that plants will not block light as they mature. This simple coordination often prevents the need to move buried cable later.
Measure your longest cable run before ordering equipment, choose a system voltage and transformer capacity from the actual load, and size every branch for its distance. Switch everything on, check the farthest fixture with a multimeter, and correct any low readings before enjoying the garden after dark. A properly sized circuit keeps the light even from the porch to the back boundary.